


Outdoor Banner Printing South Africa: Materials Guide
A banner that looks sharp on a desk can still fail in a Johannesburg wind. Most outdoor banner complaints we see are not about print quality. They come from the wrong size for the viewing distance, a vinyl that was never meant to sit on a fence through a Highveld summer, or a hem that tore after the first strong gust. Outdoor banner printing in South Africa comes down to three decisions: size, material and finish. Get those right and a banner can carry your brand for a year or more. Get them wrong and you pay twice, once to print and again to replace.
Table of Contents
- Quick Takeaways
- Standard Banner Sizes and Roll Widths
- Banner Materials for South African Conditions
- Finishes That Affect Lifespan
- Vinyl, Mesh and Rigid Boards Compared
- Installation and Wind Loading
- Artwork, Resolution and Brand Standards
- Ordering, Turnaround and Reprints
- Frequently Asked Questions
- References
Quick Takeaways
| Key Insight | Explanation |
|---|---|
| Size the text to the viewing distance | As a rule of thumb, allow about 25 mm of letter height for every 3 metres a reader stands away from the banner. Add more for traffic that passes at speed. |
| Use mesh on exposed sites | Flat vinyl catches wind like a sail and tears at the grommets. Mesh lets air pass through, so it suits fences, scaffolding and large building faces. |
| Specify UV-stable inks and a protective laminate | Highveld sun is intense, and unprotected prints lose colour first on the sun-facing side. Ask for the ink and laminate spec in writing before you approve a quote. |
| Allow a hem on every edge | A banner trimmed to exact size shows white edges and loses its perimeter strength. Around 50 mm of hem per side is a common starting allowance. |
| Keep joins out of the middle | Seams open under wind load. Plan the artwork around the roll width so a single-piece banner can be cut from one length of material. |
| Approve a colour proof against your brand reference | Screen colours and printed colours never match exactly. Check the proof against your brand swatch before the full run, not after the banners are hanging. |
Standard Banner Sizes and Roll Widths
Start with the viewing distance, not the wall you plan to hang it on. A banner read from two metres needs very different type from one read across a car park or from a passing taxi. Most clients ask for a size first and only later discover that the message does not fit it, so we work backwards from the reader.
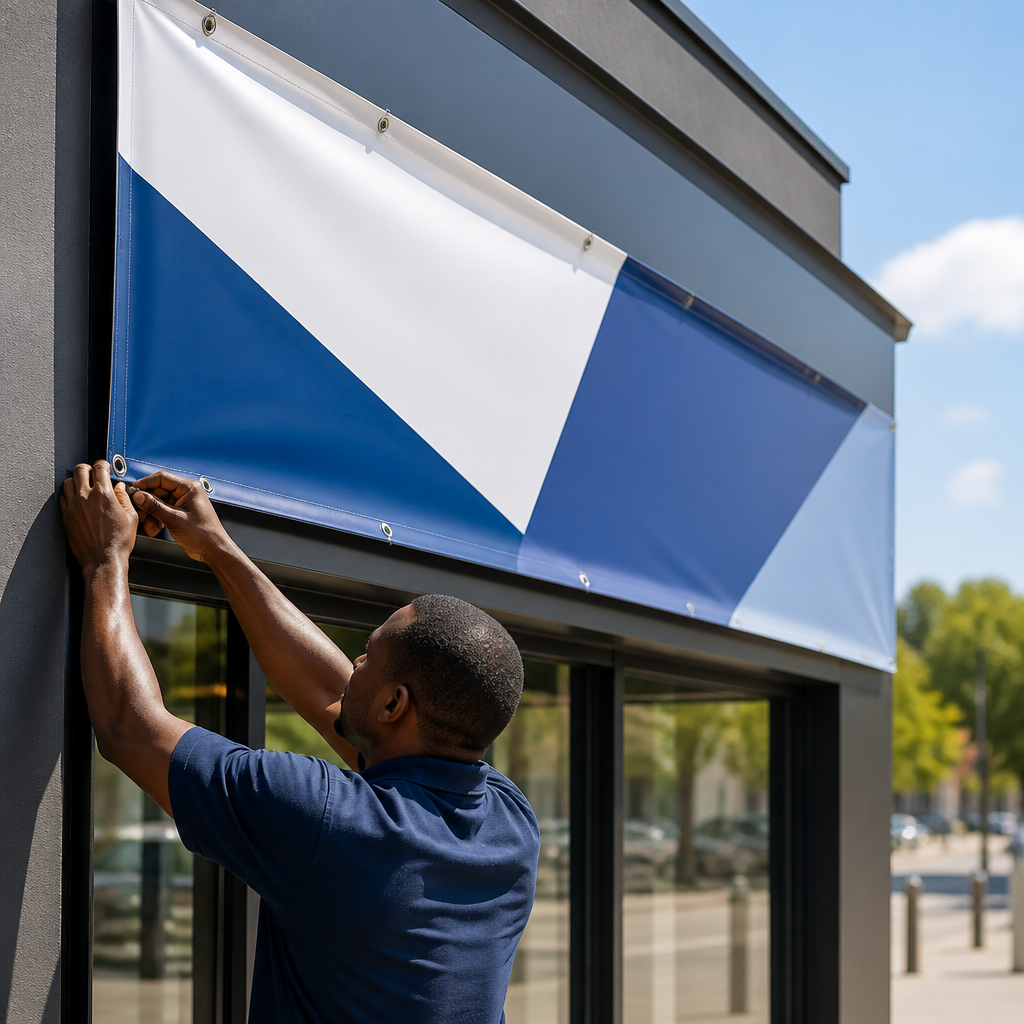
Common roll widths and why they matter
Digital printers feed vinyl from rolls, and the roll width decides how many single-piece banners you can cut without a join. Widths around 1.37 m and 1.6 m suit most standard panels, while wider rolls suit one-piece runs for building wraps and large gate panels. Joins are the weakest point of any banner under wind load, so design around the roll width wherever the site allows it.
Before you order, measure the actual mounting space and subtract any frame, bracket or gap that the banner will not cover. A banner designed for a 2.4 m wide fence panel will look wrong if the fence is 2.2 m with a post in the middle. Send us the site measurements with a photo, and we will confirm the layout before any artwork is built.
Hems, pockets and sizing allowance
Every banner needs a margin for hems or pole pockets on each side. If the artwork runs to the exact trim line, the cut will show a white edge and the perimeter loses its strength. Build a clear margin into the file and keep critical text at least 50 mm inside the trim.
Pro tip: Draw the finished size, the hem allowance and the safe text area as separate layers in your artwork file. Designers who skip this step are the usual source of clipped logos and banners that come back with text cut off at the edge.
Banner Materials for South African Conditions
Material choice starts with the weather, not the budget. A banner in a sheltered shopping centre entrance faces very different stress from one on a perimeter wall next to a highway. Matching the substrate to the exposure is the single biggest factor in how long the banner looks good.
Standard PVC vinyl for everyday outdoor use
Standard PVC vinyl is the workhorse of outdoor banner printing. It handles sun, rain and general handling well, and it gives the strongest colour density of the common options. It is available in several thicknesses, usually described by weight in grams per square metre, and heavier material resists tearing better on larger panels.
Standard vinyl works best on fixed fascias, shopfronts, gates and fences where wind is moderate. A vinyl panel that is larger than about two square metres and fixed by its corners will start to flap in strong gusts, and that flapping is what tears the eyelets first.
Mesh vinyl for windy sites
Mesh vinyl is the correct answer for large banners on exposed sites. The tiny perforations let wind pass through the surface, which removes most of the sail effect that drives failure on solid vinyl. Mesh is the normal choice for scaffolding wraps, perimeter fencing and tall building faces that catch the wind.
The trade-off is visual. Mesh looks slightly less solid up close, and fine detail can look grainy at short range. Design mesh banners with bold shapes and large type, and keep photographic detail for solid materials.
Rigid boards and fabric for shorter placements
Rigid PVC boards give a flat, professional face for signs that stay in one place, such as walls, frames and display stands. They do not suit windy outdoor sites because they have no flex to absorb gusts, and they need proper fixing. Fabric banners look premium indoors, but they wrinkle and absorb moisture outdoors, so keep them inside unless the product is specifically rated for exterior use.
Finishes That Affect Lifespan
The finish is the layer that decides how the banner ages. Two banners printed on the same vinyl can look very different after a few months if one has a protective laminate and the other does not. Finish choices are often treated as cosmetic, but they carry most of the durability.
Matte versus gloss
Matte finishes reduce glare, which matters for banners read in direct sun or under bright security lights. Gloss gives punchy colour and higher contrast, but it reflects light and can be hard to read from some angles. For corporate sites where the banner must be read from the street at midday, we usually recommend matte with a laminate that keeps the colour rich.
Gloss works well for interior displays viewed at close range, such as hotel lobbies or restaurant windows, where the light is controlled and the viewer is near the surface.
Laminates and anti-graffiti coatings
A protective laminate seals the ink against UV, moisture and dirt. For any banner that stays up longer than a single event, we treat laminate as standard rather than an upgrade. Anti-graffiti coatings are worth specifying for banners on public walls and fences, because marks can be wiped off without damaging the print.
A common mistake is laminating a banner that was printed with the wrong ink. Laminate cannot fix fade-prone ink, so the ink specification matters before the finish is added.
A banner is only as durable as its weakest layer. The ink, the laminate and the hem each have to be specified on purpose, or the first strong season will decide for you.
Hems, pole pockets and welded edges
The edge is where most outdoor banners fail. Hemmed edges with reinforced stitching hold up better than raw cut edges, and welded edges are preferred for vinyl because they do not add a stitch line that can rot or tear. Pole pockets suit banners hung on poles or cross-bars, while eyelets suit fixed fascias and fences.
Pro tip: Ask for eyelets at no more than about 500 mm spacing along the long edges and at every corner for outdoor panels. Corners carry the most load, and a missing corner eyelet is the first thing wind finds.
Vinyl, Mesh and Rigid Boards Compared
Each material suits a different job, and most sites need more than one. The table below sets out the three options we quote most often for outdoor work in Gauteng. The key question is not which material is best, but which failure you can afford.
Solid vinyl gives the best colour and the cleanest look for fixed signs in sheltered positions. Mesh gives the best wind performance for large panels. Rigid boards give a flat, permanent face but need a frame or fixed mounting. Matching the material to the exposure at the start saves the cost of a replacement run later.
| Option | Best use | Main trade-off |
|---|---|---|
| Laminated standard PVC vinyl | Fixed fascias, shopfronts and gates in sheltered or moderate wind positions | Acts as a sail on large panels, so eyelets tear in strong gusts |
| Mesh vinyl | Scaffolding wraps, perimeter fencing and tall building faces | Slightly less solid appearance and softer detail at close range |
| Rigid PVC board | Permanent wall signs, frames and display stands | No flex, so it needs proper fixings and cannot handle open wind exposure |
Installation and Wind Loading
A well-printed banner that is fixed badly will fail on the first windy afternoon. Installation is where the specification meets the real site, and it is the step most often rushed. Plan the fixing method alongside the material, not after the banner has been printed.
Eyelet spacing and fixing points
Eyelets distribute the load across the banner, so their spacing matters as much as their strength. Use closer spacing on the long edges of large panels and add extra eyelets at each corner. Cable ties through eyelets work for short-term use, but for longer placements use stainless fixings or a rail system that spreads the load.
Keep the fixing points clear of the printed artwork. Eyelets placed through a logo or a key line look careless and can weaken the most important part of the design.
Fixing to fences, railings and gates
Fences and railings are common outdoor sites, but they vary widely. Chain-link fencing needs ties that grip the mesh without cutting the eyelet. Steel railings suit rope or bungee fixings with a small spacer to stop the banner rubbing against the metal. Gates that open and close move the banner, so a gate banner needs more slack and more frequent checks.
In practice, the most common installation fault is a banner pulled tight across a fence in one direction only. Allow a small amount of slack so the material can move, because a tight banner transfers all the wind load to the fixings and the eyelets.
Checking banners after strong wind
Inspect outdoor banners after any storm or unusually strong wind. Look for loose eyelets, small tears starting at the edges and corners that have started to lift. A banner that is caught early can often be refixed or repaired, but one left flapping can split across the middle and need full replacement.
Artwork, Resolution and Brand Standards
Corporate clients and franchise groups often have the tightest brand rules, and outdoor banners are where those rules are most visible. A banner that drifts from the approved logo, font or colour undermines the whole brand system. Good artwork practice protects that consistency before the first banner is printed.
Resolution for outdoor viewing
Outdoor banners are viewed from further away than print on paper, so they do not need the very high resolution that a magazine page demands. Artwork is usually set up at a resolution that matches the output size, and that is more important than hitting an arbitrary number. What matters most is that logos and fine type are supplied as vector files, so they stay sharp at any size.
Photographs scaled up to banner size are the usual problem. A small image stretched to three metres will look soft, even when the print itself is excellent. Supply the highest quality images you have, and use simple graphic shapes where the source is limited.
Colour control across a corporate range
Colour is where multi-site brands run into trouble. A banner printed in one city can look different from the same design printed in another, because screens, papers and inks behave differently. For franchise and multi-branch programmes, we recommend approving a physical proof against the brand reference and keeping that proof on file for future runs.
Brand consistency on the street is decided in the proofing room. If the approved proof is not kept and matched, every reprint becomes a small argument about what the logo should look like.
File setup mistakes to avoid
The most common file problems are missing bleed, low-resolution logos pasted in as images, and text placed too close to the trim line. Fonts that are not embedded or converted to outlines can also change when the file is opened on another machine. Send a PDF with fonts outlined, the hem allowance included and the trim marks visible.
Pro tip: Print a scaled test of the artwork at 10 percent and stand it at the distance where the banner will be read. If you cannot read the main message from that distance, the type is too small or the contrast is too weak.
Ordering, Turnaround and Reprints
Outdoor banners are often needed for a launch, an opening or a seasonal promotion, which means timing is part of the specification. A rushed order is more likely to have file errors, rushed proofing and less time for colour checks. Build lead time into the project plan from the start.
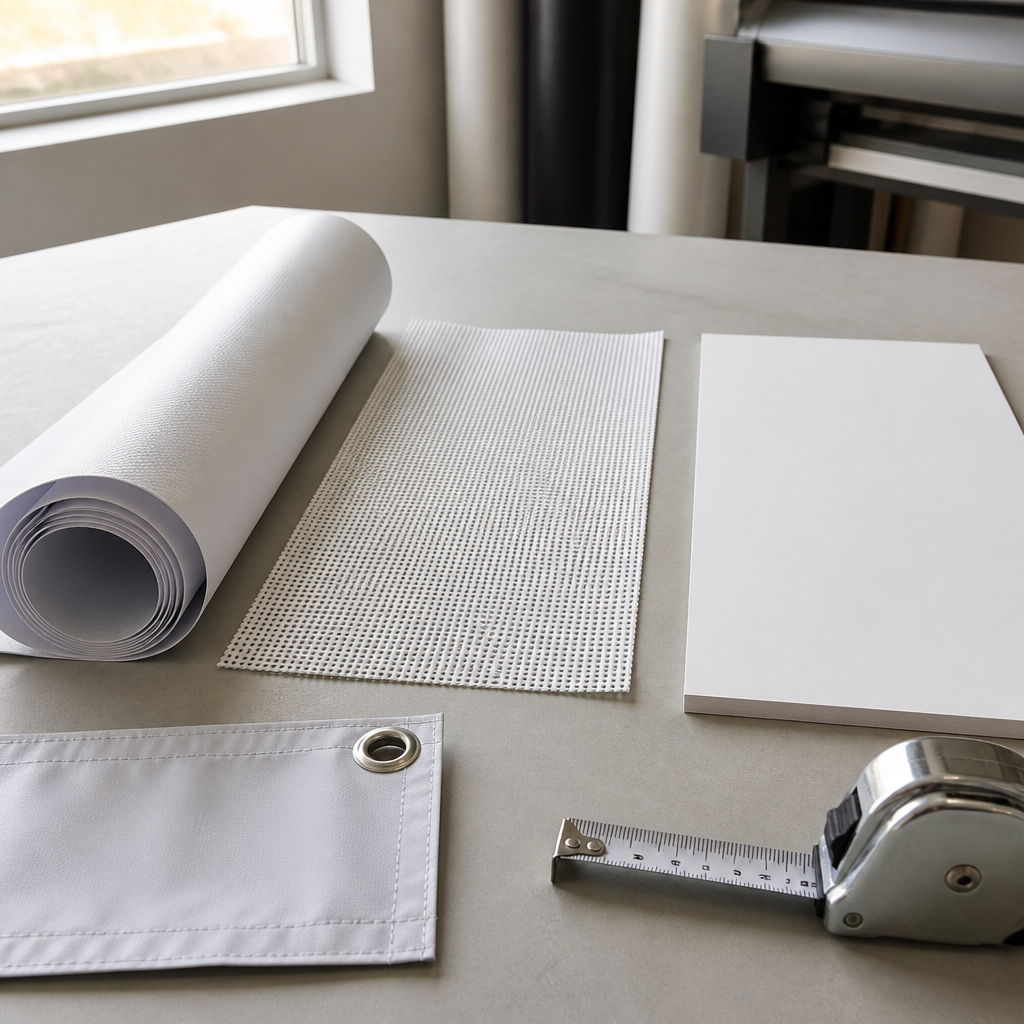
Lead times before events and openings
For any event or opening, the banner should be proofed and approved before the event team is locked into a date. Allow time for the proof, the approval, the print run, the finishing and the installation. A banner that arrives on the morning of the event leaves no room to fix a spelling error or a wrong logo.
For festive season campaigns and October and November launches, the schedule gets tight because many businesses order at the same time. Confirm dates early and ask for a proof before the production slot is confirmed.
Reprint costs compared with replacement
When a banner fails early, the first question is whether to reprint or to replace the material entirely. If the artwork is correct and the damage is limited to the edges or a single panel, a targeted reprint or repair is often the better option. If the colour has faded across the whole banner, a fresh print with a better laminate is usually the right decision.
Keep the original artwork file, the approved proof and the material specification on record. A reprint with the same specification gives the same result, and that consistency matters across multi-site brands.
Frequently Asked Questions
What size should an outdoor banner be for a shopfront?
The right size depends on the viewing distance and the space available. Start with the message, work out the letter height needed for the distance where people will read it, and then fit the banner to the fascia or wall with room for hems and fixings.
Is mesh vinyl better than standard vinyl for outdoor use?
Mesh is better on large, exposed sites where wind is a problem, because the perforations let air pass through. Standard laminated vinyl is better for smaller, fixed signs in sheltered positions, where it gives richer colour and a more solid look.
How long does an outdoor banner last in South Africa?
Lifespan depends on the material, the ink, the finish and the exposure. A laminated vinyl banner in a moderately exposed position can last for a long campaign, while an unlaminated banner in full sun will fade and tear much sooner. Inspect banners regularly and replace them before they become a safety or brand risk.
Do outdoor banners need a laminate?
For any banner that will stay up longer than a single event, a protective laminate is strongly recommended. It protects the ink from UV, moisture and dirt, and it helps the colour hold for longer.
Can a banner be hung on a fence or scaffold without damage?
Yes, if the fixing method suits the fence or scaffold and the banner has enough eyelets. Use ties that do not cut the eyelets, allow a small amount of slack, and check the fixings after strong wind.
What information should I send when requesting an outdoor banner quote?
Send the finished size, the site location and mounting method, the viewing distance, a photo of the site if possible, and the artwork files in vector format for logos. Include any brand guidelines so the proof can be checked against the approved reference.
Have you printed an outdoor banner that failed sooner than expected, or found a material or finish that worked well on a difficult site? Share your experience in the comments or send us a note, because real site results are the best guide for the next project.
References
- Brand signage guidelines and best practices for readable sign design
- Business signage do's and don'ts for clear, on-brand signs